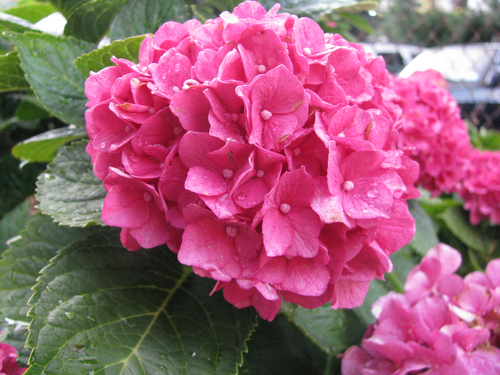
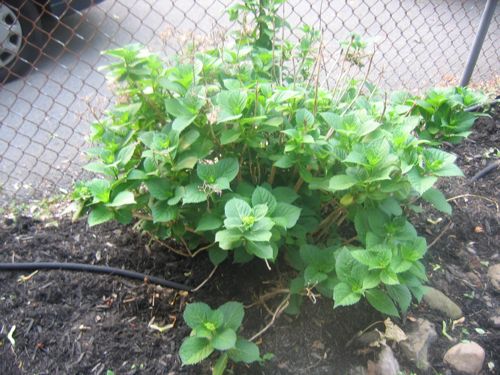
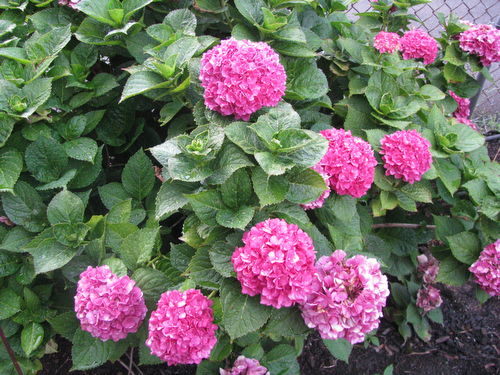
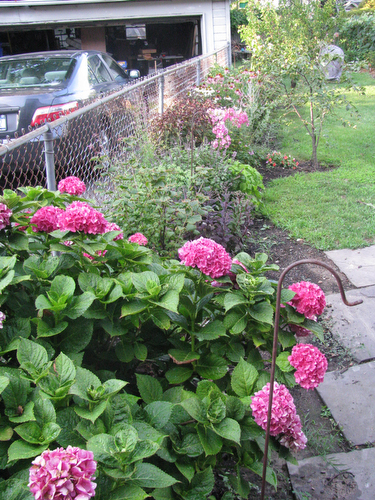
When it comes to transplanting a 10-year-old hydrangea, I will tell you this: It’s a bitch. The roots are not deep, but they’re in tight. And after the winter we had, the hydrangea was already in bad shape. Still, I’ll share what I’ve learned, and I am hoping that this plant will recover. After all, she’s a tough one. So, here’s how to transplant a 10-year-old hydrangea.
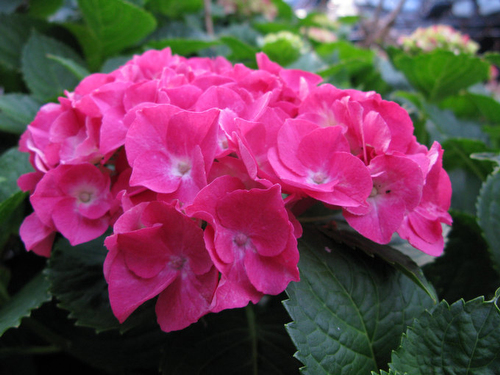
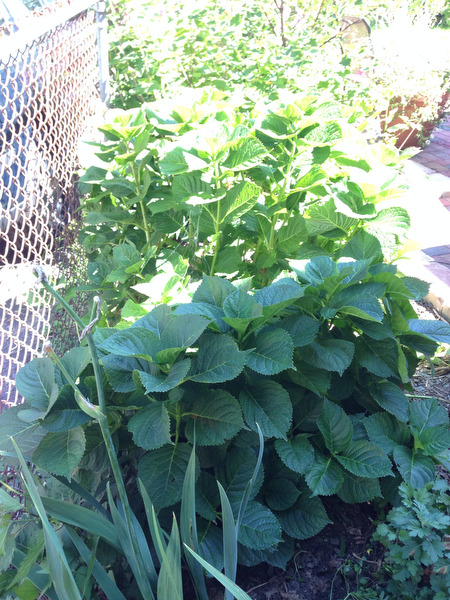
It’s just one of those grocery store plants you get around Eastertime. My mom brought it over to our Burd Street apartment one Easter, and later that spring we planted it in the courtyard there. When we moved to Sour Cherry Farm in 2002, we brought it along, but didn’t plant it for an entire year! It sat in a red Flyer wagon that whole time, just a bit of dirt. We finally planted it in this spot in 2003.
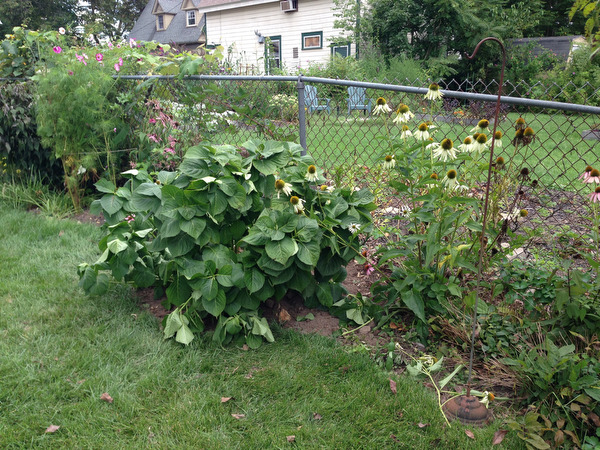
Here it is in 2007:
And 2010:
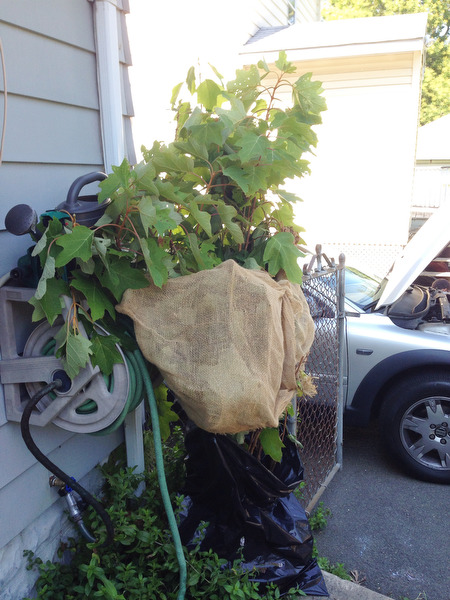
Kelli offered us the oak leaf hydrangea from her yard, which needed to be moved anyway. So we took it.
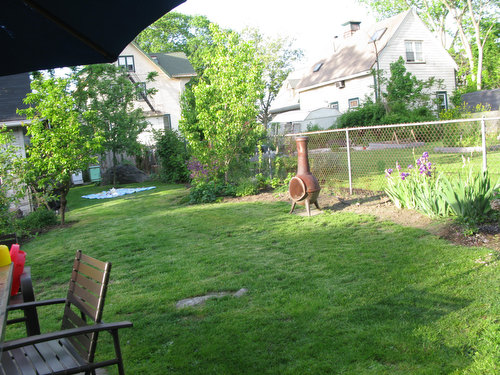
And really, the best spot for it (we hope) is where our old friend has lived for 10 years.
The back of the yard needed some structure, so we decided to move it there.
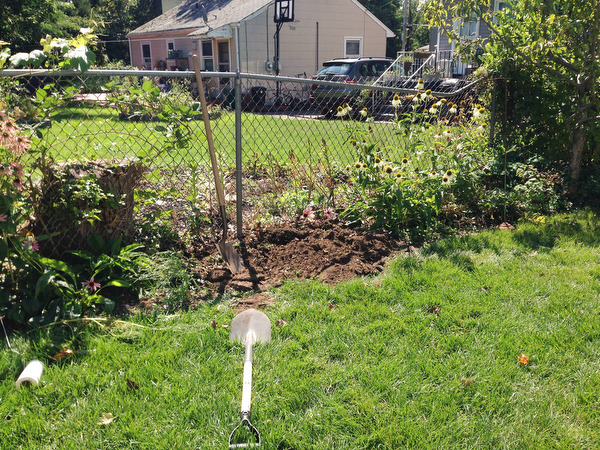
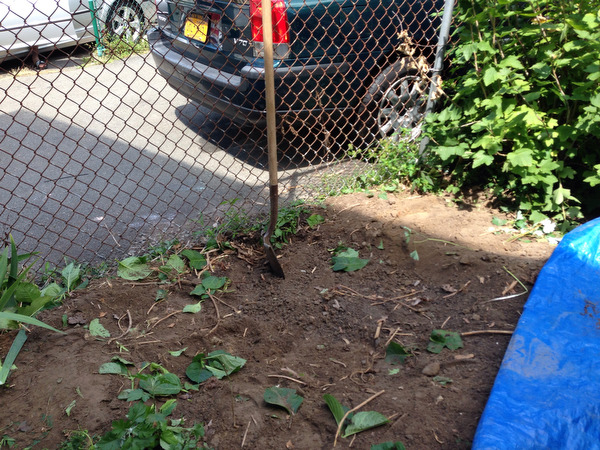
First, dig the new hole. Ours was back by the fence. Be very careful when planting shrubs near fences. They need a lot more room than you think. Always err on the side of too close to the yard than too close to the fence.
Don’t mix any compost into the soil. You could add a little Hollytone if you want blue flowers on the hydrangea. I wanted pink, so I’m not worried about it.
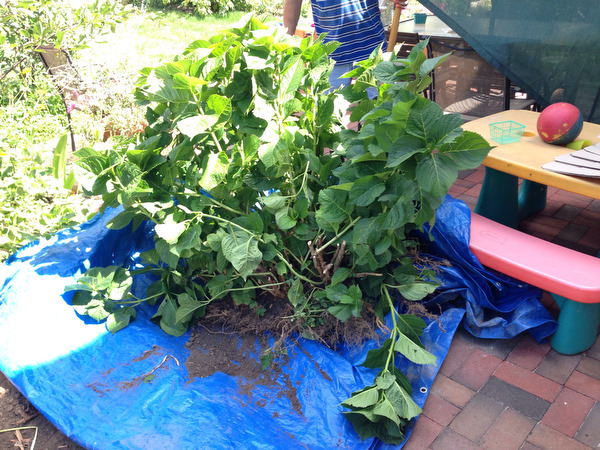
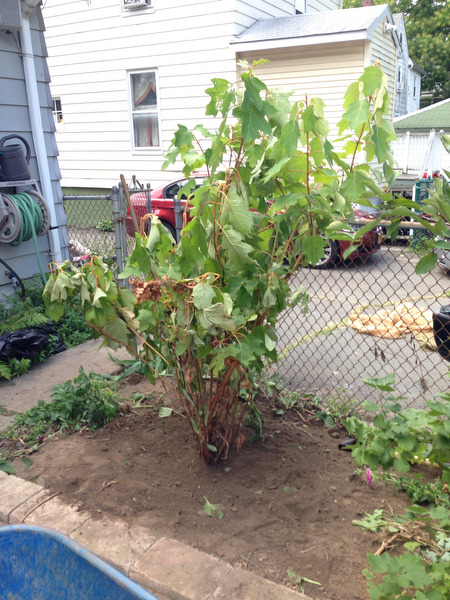
Have a tarp ready. Then dig around the hydrangea — the roots reach as wide out as its leaves reach, so start your first cuts there. Dig down but also cut under the plant to loosen the roots. Shake it back and forth to loosen it. The older you hydrangea is the harder this will be.
Slide the tarp under the plant and lift the plant onto it.
First plant the old hydrangea in its new spot. the rootball should fit easily into the hole and the bottom of the plant should be even with the ground.
Now dig the hole for the new plant. Same deal: the rootball should fit easily into the hole and the bottom of the plant should be even with the ground.
Water, water, water. Water deeply, then let it dry. Then water deeply. Repeat for at least 2 weeks, longer if it’s hot. Just keep watching it. I will keep watching mine. And in the spring, I’ll let you know. Fingers crossed.

